Efficient storage is the backbone of any successful warehouse, distribution center, or industrial facility. One of the most effective ways to maximize space and keep inventory organized is through pallet racking systems. However, installing pallet racking requires careful planning, attention to detail, and adherence to safety standards. Improper installation can result in accidents, damaged goods, and costly downtime. This guide will walk you through the steps to install pallet racking safely, ensuring a secure and efficient storage solution for your facility.
Step 1: Assess Your Warehouse Space
Before selecting a pallet racking system, take a close look at your warehouse layout. Measure ceiling height, aisle widths, and the floor’s weight-bearing capacity. Identify any obstacles such as support beams, HVAC systems, or fire sprinklers that could interfere with racking installation. Proper assessment helps you choose a system that maximizes vertical and horizontal storage while maintaining safe access for forklifts and employees.
Step 2: Choose the Right Type of Pallet Racking
Pallet racking comes in several types, each suited to different storage needs:
-
Selective Racking: Ideal for warehouses that require easy access to every pallet.
-
Drive-In/Drive-Through Racking: Maximizes space by allowing forklifts to drive directly into the racks.
-
Push-Back Racking: Uses a rolling mechanism to store multiple pallets deep.
-
Pallet Flow Racking: Gravity-assisted racks that move pallets forward automatically for first-in, first-out inventory management.
Selecting the right system ensures your warehouse remains efficient and organized, while also keeping safety in mind.
Step 3: Plan Your Layout Carefully
A detailed layout plan is crucial for both efficiency and safety. Decide on aisle widths that allow forklifts and other equipment to move safely. Ensure there’s enough clearance around fire exits, sprinkler systems, and walkways. Proper spacing between racks is essential to prevent collisions, provide sufficient ventilation, and maintain compliance with local building codes and OSHA regulations.
Step 4: Prepare the Floor
The floor is the foundation of your pallet racking system. It must be level, clean, and strong enough to support the weight of fully loaded racks. Check for cracks or uneven surfaces and repair them before installation. Many racking systems also require anchoring to the floor, so ensure the surface is compatible with bolts or other securing hardware.

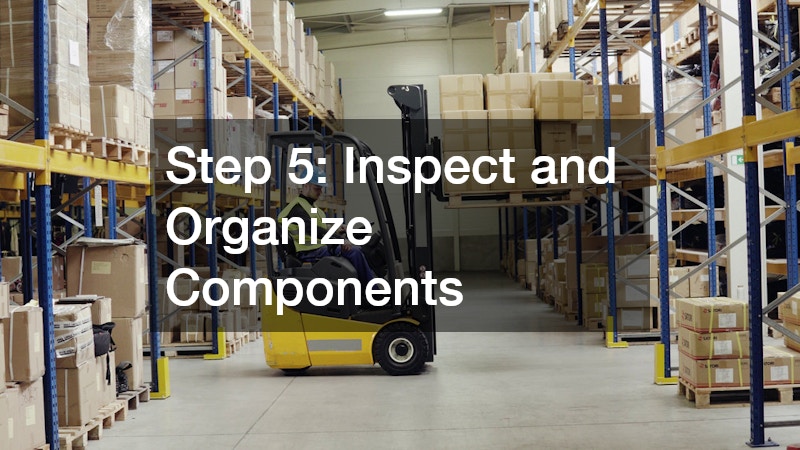
Step 5: Inspect and Organize Components
Before installation begins, inspect all racking components, including uprights, beams, braces, and hardware. Ensure there are no bent frames, missing bolts, or other defects. Organize the pieces so installation is systematic and efficient. This step reduces errors and minimizes the risk of accidents during assembly.
Step 6: Install Uprights and Beams Safely
Begin with the vertical uprights, making sure they are plumb and securely anchored to the floor. Use a level and appropriate fasteners to guarantee stability. Next, attach the horizontal beams that will support the pallets. Many racking systems have locking mechanisms that secure beams in place; always double-check that these are properly engaged. If the racks are tall, consider installing them in sections to maintain stability during assembly.
Step 7: Implement Safety Features
Pallet racking safety isn’t just about proper installation—it also involves protecting both personnel and inventory. Add safety features such as:
-
Rack Guards: Protects uprights from forklift impacts.
-
Wire Mesh Decking: Prevents pallets or products from falling.
-
Load Signage: Clearly indicates weight limits for each level.
-
Safety Clips or Locks: Secures beams to uprights, preventing accidental dislodging.
Regularly inspect these features to ensure they remain in place and functional.
Step 8: Train Your Team
Even a perfectly installed pallet racking system can become unsafe if employees aren’t trained on proper usage. Educate staff on load limits, proper stacking techniques, forklift operation around racks, and emergency procedures. Encourage a culture of safety where employees report any damage or instability immediately.
Step 9: Perform Regular Inspections
Routine inspections are essential to maintain a safe warehouse environment. Check for bent or damaged uprights, loose bolts, and uneven loads. Make repairs immediately and ensure that no racks are overloaded. Periodic inspections help prevent accidents, reduce liability, and extend the life of your pallet racking system.
Step 10: Maintain a Clean and Organized Warehouse
Finally, maintaining a clean and organized space around your racking system improves both safety and efficiency. Remove debris, secure loose pallets, and keep aisles clear for forklift movement. A well-organized warehouse reduces the risk of collisions and ensures your pallet racking system remains effective for years to come.
Installing pallet racking safely doesn’t have to be overwhelming. By carefully assessing your space, selecting the right system, planning your layout, and following proper installation and maintenance procedures, you can create a storage solution that optimizes space, protects your employees, and keeps your warehouse running smoothly. Safety should always be the top priority, ensuring that your investment in pallet racking delivers maximum efficiency without compromising the well-being of your team.


